Getting started with TCP DUMP
Fri, Jan 26, 2018For this tutorial I will be using a few Virtual machines with the Linux distro Kali as the OS.
TCP DUMP
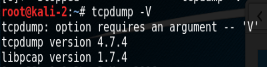
FIrst of all check what version of TCP DUMP you have using the command below
tcpdump -V
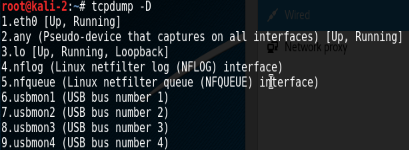
Nows to see all interfaces on the device. Use the “-D” flag.
tcpdump -D
To capture packets on an interface use the command below. As you can see in the screen shot I am capturing packets on the loopback interface, while pinging the loopback address of 127.0.0.1 from the VM.
tcpdump -i <interfaceName>

Now try pinging the VM’s IP from a Windows VM. To capture the packets you can use the command from earlier but selecting the network adapter which in my case is “eth0”. The “-X” flag prints the payload of the packet.
tcpdump -X -i eth0
In the screenshot below is a capture from a linux ping that I am displaying from a saved capture. I’ll explain how to save a capture later.
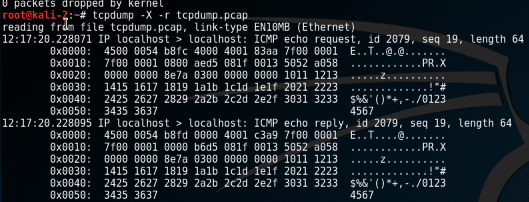
Now if we compare the windows(below) and a linux ping capture you can see that the packets in each case are different.

In the windows icmp message is the incomplete Latin alphabet (abcdefghijklmnopqrstuvwabcdefghi)and the linux(kali) icmp message sends special chars and numbers.
Also you will see the packet size is different 64 for the linux vs 40 for the windows
Now to capture packets and save them we use the “-w” flag followed by the name of the file.
tcpdump -i eth0 -w tcpdump.pcap
In the above command i have saved the capture to a file called tcpdump.pcap. Pcap is a regonised capture file format and I recommend to use it if you are saving captures.
Now to read from the capture we use the “-r” flag followed by the path to the saved capture.
tcpdump -X -r tcpdump.pcap
Now that you are familiar with TCP DUMP why not mess about with it and see do you notice any differences between Telnet and SSH packets, which i will talk about in a later post.